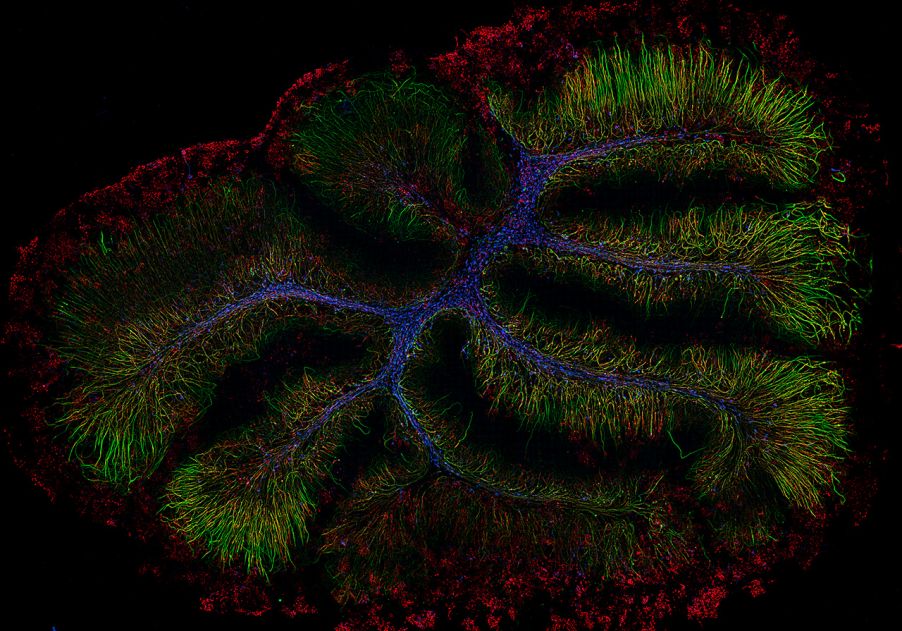
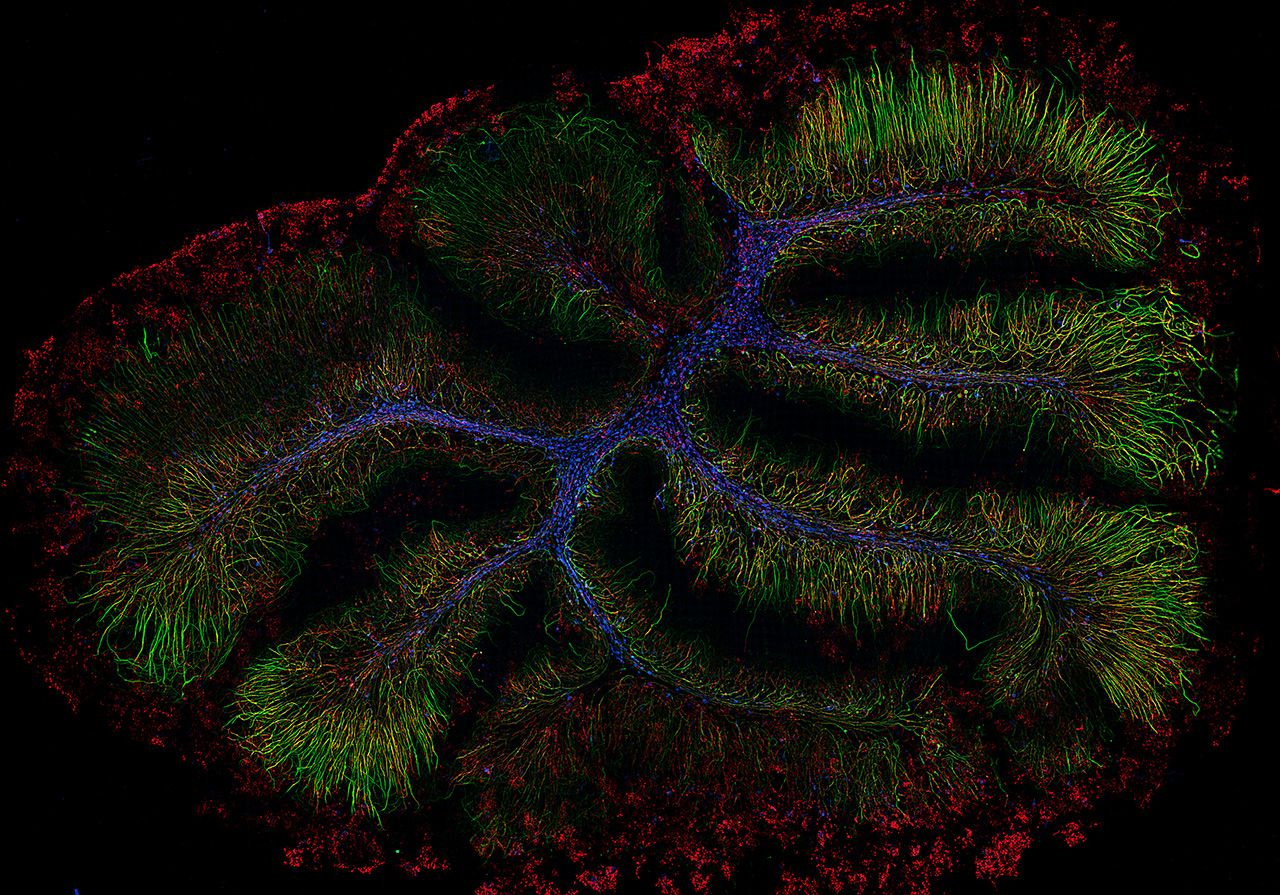
Murine organotypic cerebellar slices recovered for 7 days following demyelination. Axons are visualized with Neurofilament-H in green, myelin is labeled with myelin basic protein in red, and GSTpi is blue labeling oligodendrocyte cell bodies. Samples by Katherine Given, MS, University of Colorado Denver. Captured at 20X on the SLIDEVIEW VS200 research slide scanner with the SILA module.
Widefield fluorescence microscopes offer high-resolution imaging for thin samples. But when it comes to thicker samples, widefield microscopes are limited in their imaging ability due to background fluorescence causing image blur.
So, how do you remove image blur in thicker samples? The answer lies in optical sectioning. This method effectively overcomes the limitations of widefield imaging but has traditionally required a confocal system or deblurring software.
Today, optical sectioning technology is now on research slide scanners. This means researchers can benefit from confocal capabilities for imaging thick samples—with significantly improved throughput. Here we explore the advantages of this optical sectioning method in detail while comparing it to traditional techniques.
What are the Limitations of Widefield Imaging for Thick Samples?
Widefield microscopy is a common imaging technique that’s highly effective for thin samples (<10 µm). In widefield microscopy, light from both in-focus and out-of-focus planes are collected by the camera. This is not an issue for thin samples. When imaging thicker samples, this unavoidable background fluorescence leads to image blur and poor contrast, obscuring structures of interest.
Confocal microscopy and other scanning illumination methods can overcome this problem. They work by shaping the illumination into a fixed pattern, resulting in an optically sectioned image. These systems can produce excellent images under favorable conditions. Yet, they come at a significant expense. They also depend on the delivery of well-defined and controlled illumination patterns into the sample.
Introducing a Different Illumination Approach to Image Thick Samples
To negate the effects of background fluorescence on image contrast and quality, well-defined and controlled illumination patterns aren’t always necessary. One technique known as HILO microscopy uses random speckle patterns to illuminate the fluorescent sample. Speckle patterns exhibit granular intensity with inherently high contrast, making fluorescence images obtained via speckle illumination appear granular. This granularity provides contrast and a direct indication of how in-focus the sample is.
During HILO imaging, two raw images are collected and processed. The first is a regular widefield image with uniform illumination. A high-pass filter is applied on this image to extract the high-frequency information—the 'HI' part of HILO microscopy. This step eliminates low-frequency information, including both in-focus and out-of-focus information.
The second image is captured using speckle illumination to recover the low-frequency in-focus image information. In other words, the 'LO' part of HILO microscopy. These images are processed using an algorithm that extracts in-focus information and eliminates background fluorescence. The two images are then fused together (Figure 1) to acquire an image containing information from the full frequency range, with the out-of-focus light removed.
The SILA optical sectioning device is a high-throughput imaging solution for our SLIDEVIEW™ VS200 research slide scanners based on HILO microscopy. It’s an add-on technology for widefield microscopes that eliminates out-of-focus light. Notably, it produces sharp optical sectioning equal to confocal microscopy. The SILA device can easily be added to any VS200 system. It introduces benefits to a broad range of applications requiring the high-quality optical imaging of thicker samples.

Figure 1. Mouse kidney section at 20X. The SILA device on the VS200 scanner combines a uniformly illuminated image with a speckle-illuminated image to deliver a combined image with sharp optical sectioning.
Adjustable Optical Sectioning Using One Parameter
Since the SILA device mathematically processes the traditional widefield image and speckle image, it’s possible to adjust the degree of optical sectioning using the single parameter of sectioning thickness (ST). When the ST is set to high, images display information from a larger depth of field. This gives the appearance of a widefield image.
Figure 2 shows a brain section taken at ST5. At this high ST value, many out-of-focus areas remain. As the ST value reduces, the image displays information from a smaller depth of field. So, when observing the brain section taken at ST2 and ST1, the in-focus information remains while out-of-focus elements have disappeared.
The ability to optimize optical sectioning in this way enables visualization at different depths while removing background fluorescence. This feature of the SILA device for the VS200 scanner is comparable to confocal microscope systems, in which changing the pinhole size can achieve a similar effect.

Figure 2. Mouse brain sample labeled with tdTomato, acquired at 20X.
Removing Blur in Thick Samples: SILA Imaging vs. Other Techniques
Before the development of the SILA device, VS200 scanners had an alternative solution for removing out-of-focus light from widefield images. Using TruSight™ deconvolution software, it’s possible to deconvolve images using 2D constrained iterative (CI) algorithms. This software-based approach works well at removing some of the out-of-focus light. Yet, it does not remove as much out-of-focus light nor provide the optical sectioning optimization as the combined software and hardware used in the SILA module.
However, deconvolution does provide a viable intermediate option for viewing thinner samples where SILA optical sectioning is unavailable. The differences in image quality between conventional widefield, software-deconvolved, and SILA images are shown in Figure 3.

Figure 3. Whole planarian flatworm Schmidtea mediterranea in 20X, showing the intestines. Blue: DAPI. Green: inner intestine cells. Red: outer intestine cells. Samples by Amrutha Palavalli, Department for Tissue Dynamics and Regeneration, Max Planck Institute, Göttingen, Germany.
SILA Imaging Applications: From Thick Cell Layers to Tissue Samples
SILA optical sectioning technology can bring significant value to many research applications, especially in the imaging of fixed, thick cell layers and tissue samples. With sectioning optimization features, plus comparable blur elimination and image contrast to that of confocal microscopes, SILA delivers high-quality imaging with greatly improved throughput.
The ability to image thicker samples is an advantage in neuroscience imaging, where thick tissue sections are often required to preserve the morphology of the specimen. Imaging brain sections is known to be challenging. It’s particularly difficult because of the propensity of brain tissue to produce a light-scattering effect.
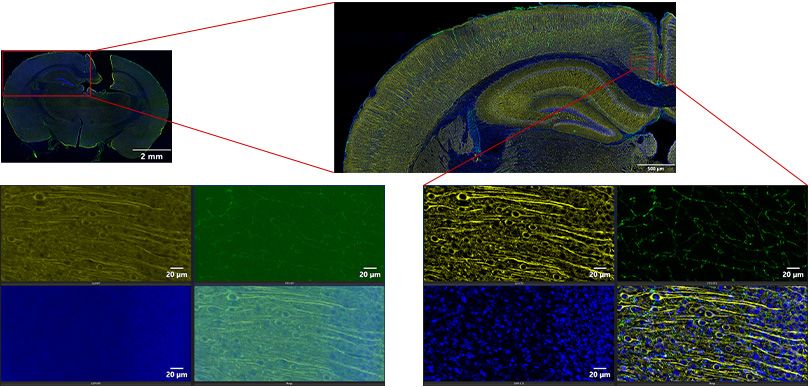
Traditionally, confocal or two-photon microscopy systems would be required to capture a high-quality, high-contrast image. Yet, these systems take a substantial amount of time to image a large area such as a brain section. The automated slide scanning provided by the VS200 system with the SILA device makes imaging thick samples over a large area much faster. The result is high-quality images in a fraction of the time (Figure 4).

Figure 4. 200 μm mouse brain section. Overview acquired at 4X. Detailed scan is an extended focal image (EFI) of a 47 μm Z-series acquired at 20X. Blue: DAPI. Green: GFAP (glia). Yellow: MAP2 (neurons).
Organoid research is another area that benefits from SILA imaging, as organoid imaging presents similar challenges to neuroscience. Imaging organoids is challenging due to thick samples, while large areas need to be imaged so that organoid morphology can be properly interrogated.
As a whole slide scanner, the VS200 system with the SILA module can provide the coverage needed to image these large samples. Meanwhile, its automated image processing, sample-independent point spread function (PSF), and simple workflow results in rapid image acquisition. The SILA device also brings value to cancer research, spatial biology, botany, embryology, and many other applications that require high-quality imaging of thick samples over large areas.
Key Takeaways about SILA Imaging
SILA imaging can optimize optical sectioning, reduce sample blur, and improve image contrast comparable to sophisticated confocal laser scanning microscopes. Offering significantly enhanced throughput versus confocal systems, the VS200 slide scanner with the SILA device enables rapid imaging of large and traditionally difficult-to-image samples, bringing significant benefits to neuroscience, organoid research and more.
Curious to learn more about how the SILA device works? Reach out to us with any questions or to set up a demo!
Related Content
SILA Optical Sectioning Method for Sharp Imaging of Thick Samples
Video: Introducing the VS200 Slide Scanner’s SILA Optical Sectioning Device


