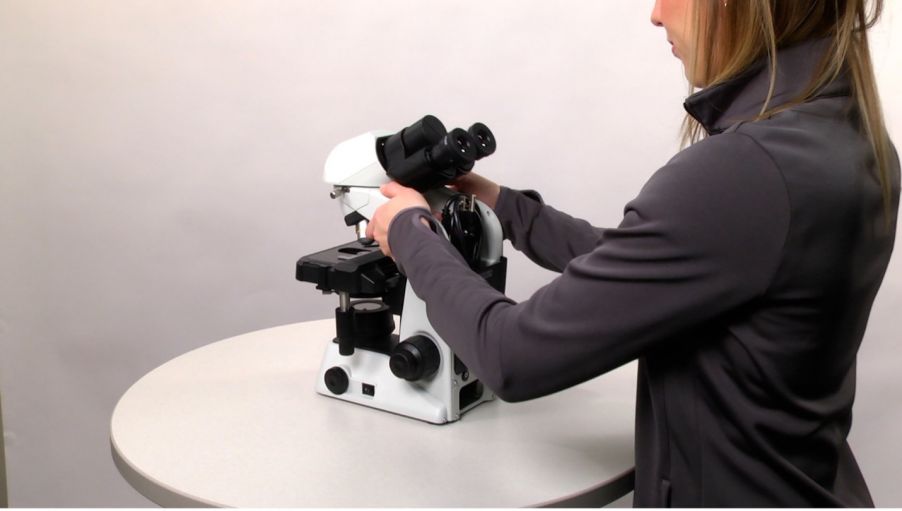
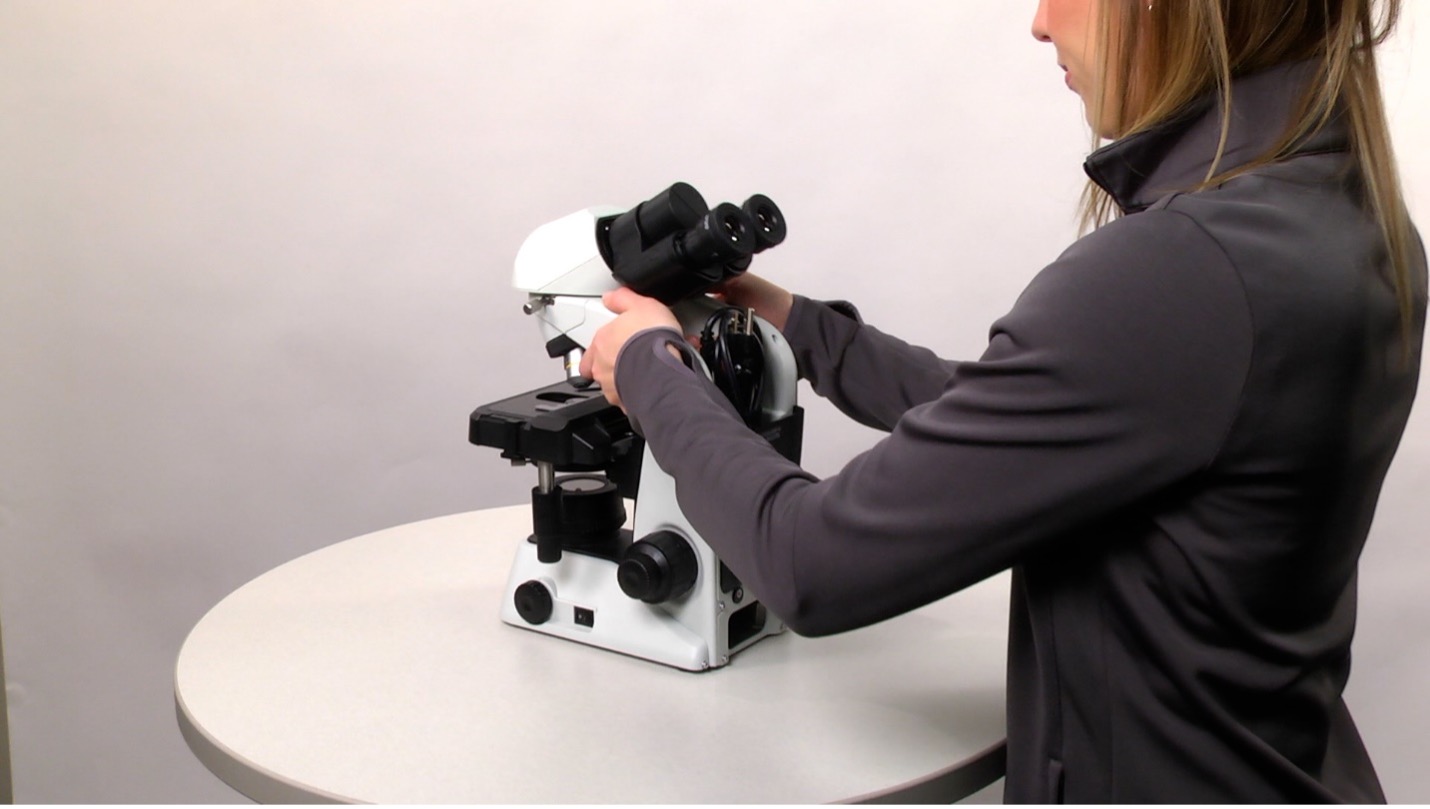
Microscopes occasionally need to be moved from one location to another. In some instances, this can be a relatively simple task. Other times, it can be very daunting. In general, we always recommend you check with your local microscope representative or Evident customer service center before moving your microscope.
Some microscope models can be moved easily, such as our CX™ upright microscope series, CKX™ inverted microscope series, and simple stereo microscopes (SZ51/61). More complex microscopes, such as our BX™ upright microscope series, IX™ inverted microscope series, and SZX™ stereo microscope series, should only be moved by trained technicians.
Below are the steps to transport simple microscopes:
1. Choose a suitable area to move the microscope.
First, determine a location that has enough space around the microscope and is close to a power outlet. Make sure to place your microscope on table or bench that is sturdy, clean, and level.
Some important reminders for microscope care and safety:
- Do not place a mat underneath the microscope
- Do not use the microscope in areas where it may be subjected to direct sunlight, high temperature, humidity, dust, or vibrations, as these environmental factors can affect its performance
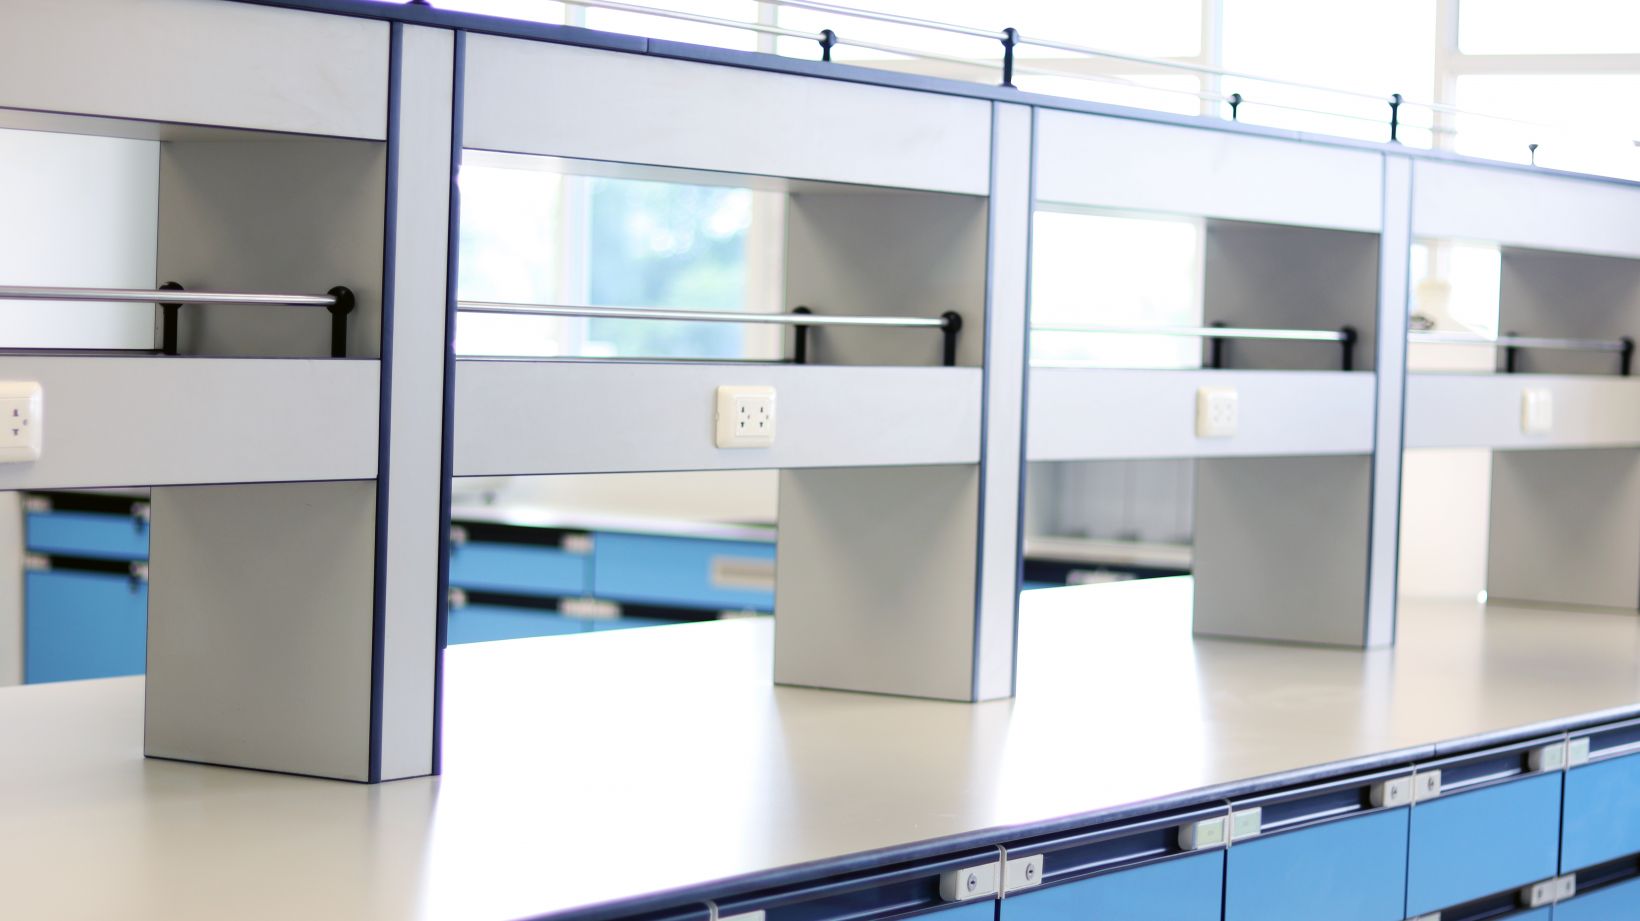
Example of a clean and safe lab bench to place a simple microscope
2. Prepare the microscope for transport.
Properly prepare the microscope before moving it to the new location. To do so, follow these best practices:
- Power off the microscope and any connected components, such as a fluorescence light source or camera
- Remove the specimen from the microscope
- Unplug all cables and cords and remove them from the microscope
3. Carefully carry the microscope to its new location.
Carefully and securely pick up the microscope frame as outlined in your product manual. Important: never hold the stage, observation tube, or focusing knob when moving the frame, as this can damage the microscope. The microscope model determines where to place your hands. Here are the guidelines to properly carry our simple microscopes:
CKX inverted microscope: Hold the lower area (a) of the binocular portion and the hand grip (b) at the bottom of the column or hold the column, and carefully move the microscope to the new location.
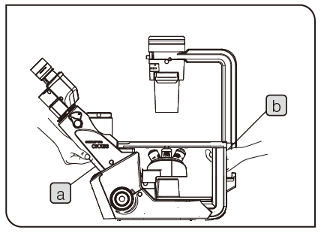
Diagram showing where to place your hands when carrying a CKX inverted microscope
CX upright microscope: Hold both sides of the arm (a), and carefully carry the microscope to the new location.
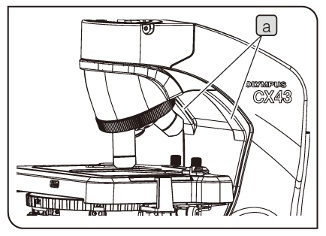
Diagram showing where to place your hands when carrying a CX upright microscope
SZ51/61 simple stereo microscope: Hold the bottom of the microscope stand with one hand while holding the base column with the other hand. Carefully move the microscope to the new location.
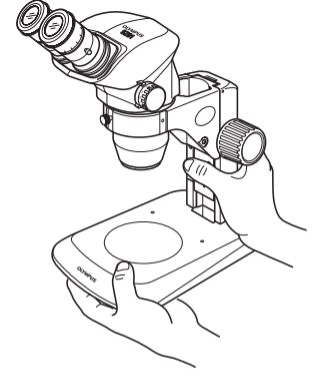
Diagram showing where to place your hands when carrying a simple stereo microscope (SZ51/61)
Remember: a microscope is a precision instrument. Gently place the microscope at the new location so that you do not damage the optics and other delicate components from a sudden or severe impact.
4. Properly set up the microscope.
Now that the microscope is placed in its new location, follow the instructions in your product manual to properly set up the system. For our student-friendly CX23 microscopes, we recorded a brief tutorial to walk you through the setup steps.
Make sure to clean your microscope during the setup process to keep your system working properly and practice good lab hygiene. Learn more in our blog post, How to Clean and Sterilize Your Microscope.
Have Questions about Moving Your Microscope? We’re Here to Help
If you have questions or need help moving your simple microscope, please reach out to your local sales representative or contact us for expert guidance and assistance.
Related Contents
Video: How to Transport, Set Up, and Store Your Student-Friendly CX23 Microscope
